
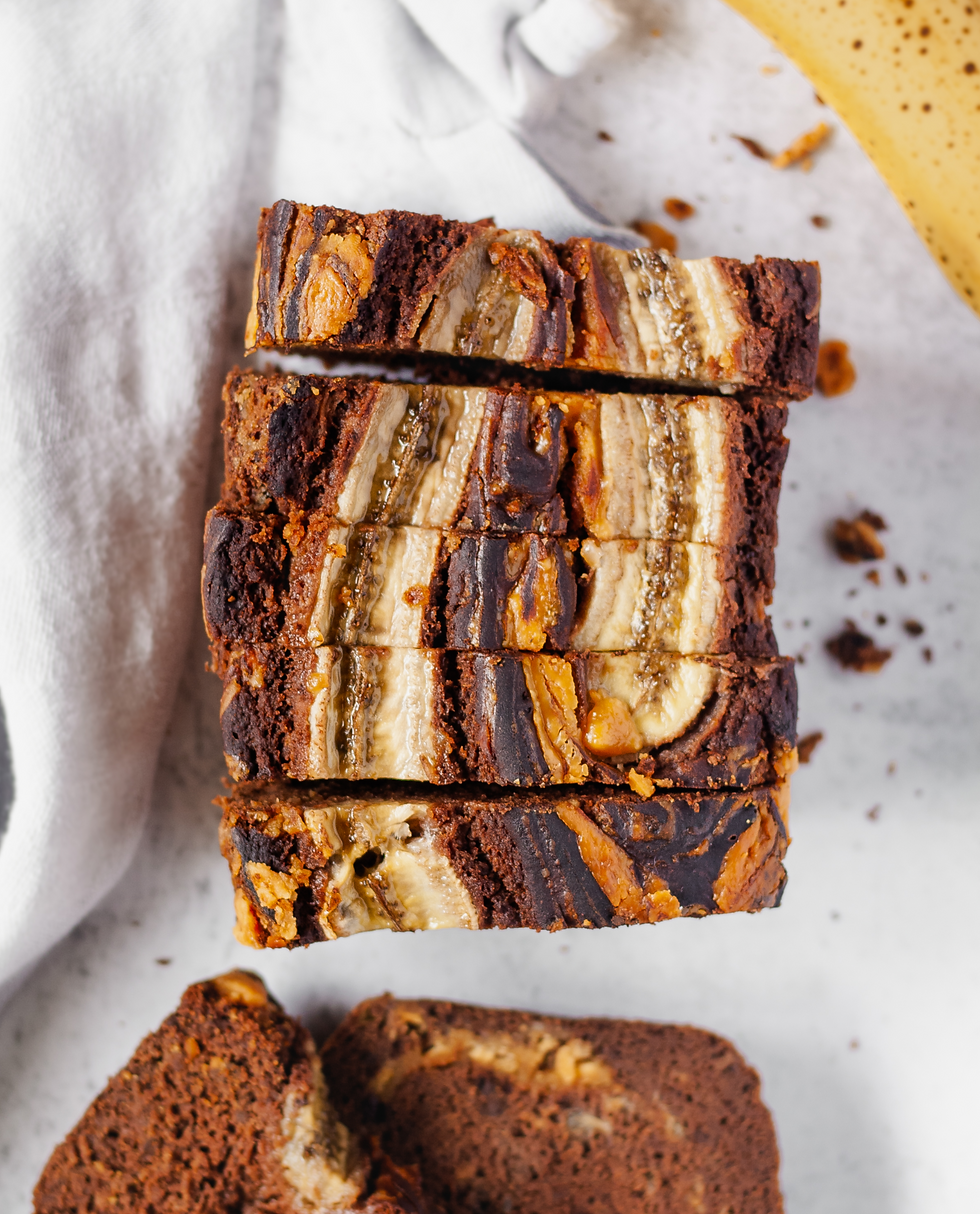
Marbled Chocolate Banana Bread
- thefitstitch

- Oct 15, 2019
- 2 min read
This Marbled Banana Bread is so easy and fun to make plus is the perfect way to use those bananas that you forgot in your fruit basket (very ripe bananas). These marbled bread uses simple and wholesome ingredients, and getting this marbled look is as easy as it can get. If you are still struggling how to make this marble effect make sure you check my video tutorial down below, or click on the link in my notes! So let's start making this fun and delicious recipe!

You can see my step by step tutorial here!
Marbled Chocolate Banana Bread
Serves: 10 Slices
Prep Time: 15 min
Cook Time: 40-50 min

Ingredients
1 1/2 Cup Buckwheat flour (Alternative any flour of your choice)
4 Ripe bananas
1 Cup Plant based milk
1/2 Cup Maple syrup
1/2 Cup Cacao powder
1/4 Cup Melted coconut oil (Optional for a more dense bread)
1/2 tsp Cinnamon
1 tsp Vanilla extract
1 Tbsp Apple cider vinegar
1 1/2 tsp Baking soda
1 tsp Baking soda
4-6 Tbsp Smooth peanut butter
Pinch of salt
Method
Preheat oven to 190ºC/ 375ºF. Line a loaf tin with parchment/baking paper.
Peel 3 bananas and place them in a bowl. With the back of a for smmash them until smooth. Add milk, maple syrup, apple cider vinegar , vanilla, coconut oil ( optional) whisk until well combined.
In a separate bowl add dry ingredients , flour, baking soda, baking powder, pinch of salt, cacao and cinnamon. Whisk until well combined.
Add wet ingredient mixture to dry ingredients and mix with a whisk until well combined.
Add 1/3 of the mixture to your loaf tin and spread evenly through the tin. Add doll-pops of peanut butter randomly in your tin. Grab a toothpick and gently swirl the peanut butter around. Repeat until mixture is finished.
Once you have placed all the mixture in the loaf tin, slice one banana long-sided and place on top of the mixture and gently press down. Finish your cake by adding the last bits of peanut butter and swirling around with a toothpick to create the marbled effect.
Bake for 45-50 min. Let cool down before removing from the tin. Enjoy!
* For a full video tutorial click here!


Comments